- 01: Deck Demolition Overview →
- 02: Step-by-Step Instructions on How to Demolish a Deck →
- 03: Deck Site Repair and Ledger Preparation →
So you're ready to get started? Watch our how-to tutorial before you start your build.
Why demolish your old deck?
There are several reasons homeowners may choose to tear down an existing deck. While some decks can be repaired and updated, others have reached the point where full deck removal is the safest, smartest, and most cost-effective option. Here are the most common reasons for a deck demo:
- Safety: Old decks are at risk of structural failures due to rot and insect infestation. And unfortunately, some decks were built with inferior materials or substandard installation methods. Undersized lumber, missing flashing, improper hardware and fasteners, and inadequate ledger attachments are far too common and can create serious safety risks. While some issues can be corrected, decks with widespread structural deficiencies may not be worth bringing up to current building codes and safety standards.
- Aesthetics: Some decks simply look worn and outdated. Aging wood can become faded, stained, or splintered to such a degree that applying another coat of paint or stain would be a waste of money and effort. Homeowners may also want to upgrade from traditional wood to more modern materials such as composite decking and aluminum railing for a cleaner look, longer performance and lower maintenance.
- Size and Shape: Your outdoor living habits and needs may have changed. You might want a larger footprint, multiple levels, built-in seating, or a wraparound design that better connects to your home and yard. In many cases, modifying an existing structure is more complicated than starting fresh with a new layout that fits your current lifestyle.
Do you need to demolish the whole deck?
Full demolition is typically necessary when the framing is compromised, undersized or built using improper construction methods. If the joists are sagging, the beams are undersized or the ledger was not properly flashed and fastened, rebuilding from scratch is often the safest and most reliable solution. Full demolition also makes sense if you plan to change the deck’s size, shape or elevation. Also, many modern decking materials require different framing to keep them safe and code-compliant, such as having joists 12 or 16 inches apart rather than spaced 2 feet apart.
If the ledger flashing is still functioning, the framing is properly spaced and structurally sound, and all the fasteners meet current building code requirements, you might be able to remove only the deck boards and install new decking over the existing frame. This is commonly referred to as resurfacing. During this process, inspect the joists for rot, splitting and proper spacing, and reinforce or replace any damaged framing before installing new decking.
Don’t forget about the footings. Well-built footings can last for decades, but they may need to be enlarged or supplemented with additional footings if you plan to expand the deck.
What is the best way to get rid of an old deck?
Before you start swinging that hammer, you’ll need a disposal plan. The one plan you should always avoid is burning the debris. Your deck frame, and possibly deck boards, are made from pressure-treated lumber, which can release harmful chemicals into the air and soil when burned. Instead, choose from one of the plans below:
- Rent a dumpster: This is usually the most convenient option, but it’s often the most expensive. Dumpster rental companies should be able to recommend the right size container for your project. If possible, request a container long enough to accommodate full-length deck boards so you don’t have to cut everything into shorter pieces.
- Haul it to a landfill: Taking the material to the landfill yourself is less expensive than renting a dumpster. However, you may have to make multiple trips depending on the size of the deck and the truck or trailer you use to haul it.
- Check city or county programs: Some municipalities offer free or reduced-cost waste collection. These programs may have restrictions on the type of material taken and load size, so contact your local city or county office for details before loading up.
- Repurpose or give it away: If portions of the wood are still in decent condition, consider reusing them for smaller projects such as raised garden beds, fencing, arbors, or for blocking and bracing on the new deck. You can also ask a friend or neighbor if they could use the material. Repurposing lumber when possible is an environmentally friendly approach and will save on disposal costs.
Do you need a permit to demolish a deck?
You probably don’t need a permit if you are simply removing a deck and not replacing it. However, if you plan to build a new deck, you will almost certainly need a permit for the new construction. In that case, it makes sense to contact your local building department before starting demolition. They can let you know whether a separate demolition permit is required. Regulations vary from one municipality to another, so the only way to know for certain is to ask.
How long does demolishing a deck take?
A small, ground-level deck can often be removed in half a day. Larger, elevated or multi-level decks might take a couple of people a full day or two. After you take time to assess the structure and identify any potential hazards like electrical and utility lines, the process typically follows this sequence: Remove the railing; take up the deck boards (or cut them in place as demonstrated in this project); dismantle the joists and beams; remove the ledger and finish with cleanup.

Tools Needed for Demolishing a Deck
You could remove an entire deck with just a hammer and a drill/driver, but having the right tools will make the job faster, easier and safer. Here are the essentials:
- Hammers
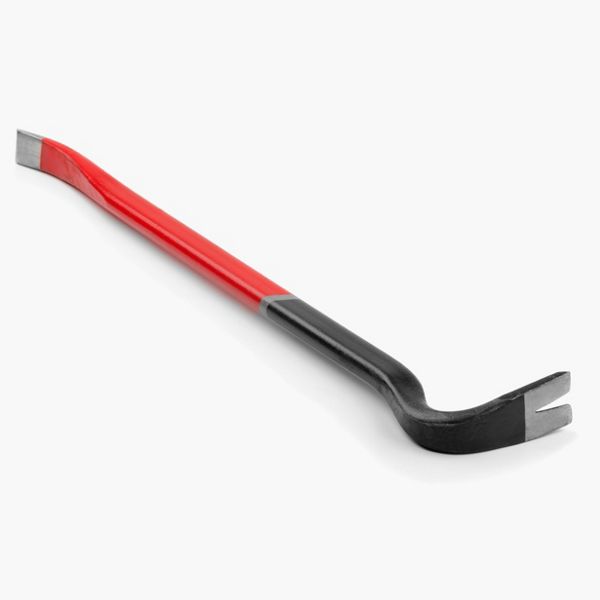
- Pry bar
- Cat’s paw (nail puller)
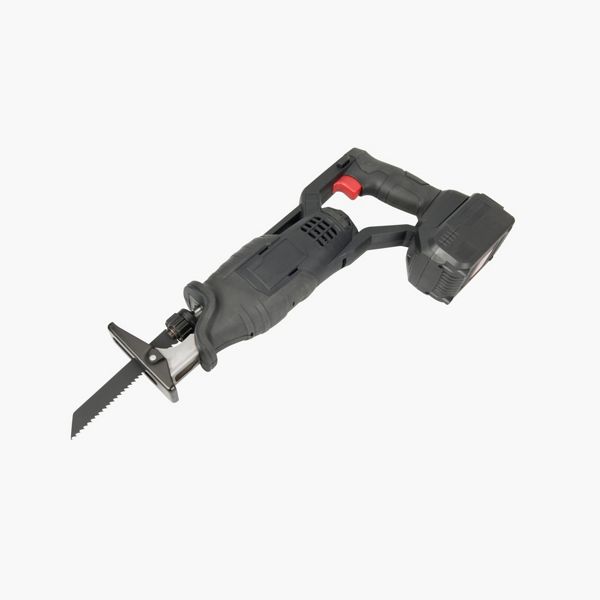
- Reciprocating saw
- Oscillating multi-tool
- Circular saw with a demolition blade
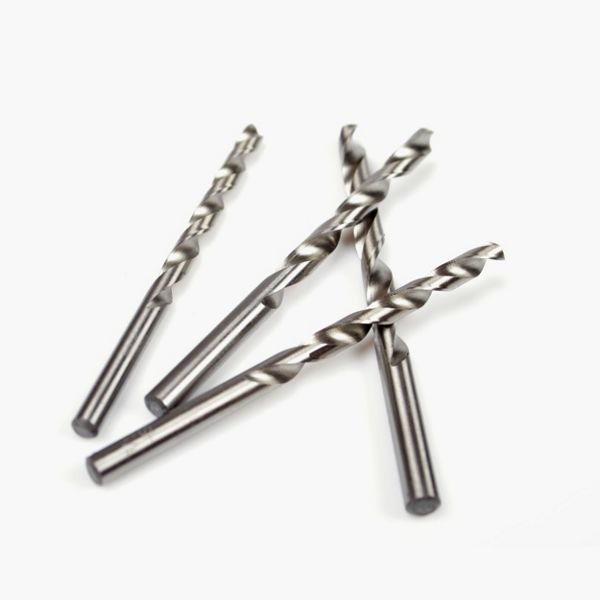
- Drill or impact driver with appropriate bits for removing screws
- Tarp (to catch fasteners and debris)
- Heavy-duty trash bags
- Wheelbarrow
Safety gear: eye and hearing protection, gloves, long sleeves, long pants, and knee pads

Deck Demo Pro Tips
A strategic approach makes deck demolition faster and safer. These jobsite-tested tips can save time, reduce frustration and help prevent injuries.
- Plan your starting point. Begin at the house or at the point farthest from the stairs and work your way back toward them. This maintains a solid walking surface for most of the demolition and reduces the need to step across open joists.
- Remove the stairs last. If you dismantle the stairs first, you’ll spend the rest of the day climbing a ladder just to reach the deck.
- Don’t waste time unfastening screws. Screws hold better than nails, but on older decks, deck screws often pull through weathered boards during prying. If you’re not salvaging materials, leave them in place. If exposed screws on joists make handling unsafe, a sharp sideways blow from a hammer will usually snap them off cleanly. Unlike nails, screws are brittle. Just make sure you have a tarp down to capture the screws.
- Use specialty tools. One way to speed up deck board removal, especially on a large deck, is with specialty pry tools with names like Deck Demon or Bull Bars.
- Cut the deck into sections. Instead of prying up every board, you can cut the deck into sections so that the boards stay attached to one or two joists. This is the method used on this project.
Be a smart stacker. From the start, load boards into the truck or dumpster in an orderly, layered fashion (think Tetris). Tossing boards in haphazardly will waste space fast and may double your hauling trips.
Step 1: Prepare the Deck for Demolition
Assess all areas of the deck before starting demolition. Look for any safety hazards such as electrical lines, broken lumber, beehives or wasp nests, etc.
Address and/or remove the safety hazards before starting demolition on your project.

Step 2: Cut and Remove the Bottom Guardrails
Remove the guardrail of the deck by cutting the top and bottom rails close to the guardrail post using a reciprocating saw.
Start with the bottom rail on both sides and cut the bottom rail completely on each side. Cut far enough away from the post to miss any hardware or brackets.

Step 3: Cut and Remove the Top Guardrails
Repeat Step 2 and cut the top rail with the reciprocating saw. Cut each side completely through, and far enough from the guardrail post to avoid any hardware or brackets.
Having a second person to hold the rail and prevent it from falling can be helpful. A second person can hold the guardrail and move it off the deck when it is cut. If no help is available, be mindful of the rail to avoid it falling.

Step 4: Dispose of the Guardrail Sections
Once the guardrail has been cut out, take the guardrail section to the on-site trash receptacle.
By cutting the guardrail section at the posts in Steps 2 and 3, it can be taken to the trash receptacle in one whole piece, making the process quicker and cleaner.
Step 5: Remove the Deck Boards
Decking can be removed in two different ways. The first way is to remove the fasteners, if possible, and pry the deck boards off the deck frame. This method takes longer, but it may be a more comfortable option if working on a higher deck.

Remember, any remaining nails in the deck boards will need to be bent over using a hammer to avoid harm if they can’t be removed.

The second way to remove decking starts with removing the two boards against the house and the two boards at the edge of the deck. Once these boards are removed, use a circular saw to cut a straight line in between the deck joists. Start at the edge of the deck and cut towards the house.
Step 6: Cut and Remove the Joists
Once the deck boards have been cut between the joists or removed with a pry bar, the joist can be cut. Use a reciprocating saw to cut through the joists near the house and at the edge of the deck. Cut far enough away from the ledger or beam to avoid any hardware that attaches the joist.

Do this in sections so there is always a portion of the deck to safely kneel on when making these cuts. Once most sections have been removed, make the final cuts from the ground outside the deck.

These sections can be taken to the trash receptacle without being broken down further, which makes this an efficient option with considerably less mess.

Step 7: Cut the Beams and Evaluate the Frame
Cut the beams between the support posts using a circular saw. This will give easy access to the joist and decking sections that were cut in previous steps.

Now that the old decking has been removed, it’s time to evaluate the original frame to determine if it can be saved or if you’ll need to build a new one.
There are some tell-tale signs that indicate a new frame is needed. One sign can be a cracked joist that has let moisture inside the wood for a lengthy period of time, which will make the joist unstable and prone to failure. Another sign can be rusty hardware and nails. When the hardware and nails rust, they become unstable and prone to failure.
If these signs are present, using the existing frame is not an option due to deteriorated conditions. In this case, we will have to remove the framing as well.

Step 8: Remove the Ledger Board
Next, it’s time to remove the ledger board. Start by taking out any lags or bolts. Pry the ledger board off the house slowly, prying a little at a time. This may require multiple pry bars, including a larger one. Be patient with this process to keep safe.

Bend any nails sticking out using a hammer so they are flat for your safety, and take the pieces to the trash receptacle.
Step 1: Inspect for Water Intrusion or Damage After Removing the Ledger
After removing the ledger board from the house, inspect the area for signs of rot or water damage. Look for rotted wood, dark staining, soft or deteriorating wood fibers, wet wood, or visible mold growth on the sheathing behind the ledger. In some cases, water intrusion may appear only as slight discoloration or water stains on the WRB and/or wall sheathing.

Step 2: Remove Siding to Expose More of the Sheathing
Remove some of the siding above and below the ledger, and pull back the water-resistive barrier (WRB), if there is one, until you reach clean, undamaged wall sheathing. Depending on the extent of the damage, this may require removing a significant amount of siding, but doing so is necessary to correct the problem.
If the sheathing shows no signs of rot, water damage, or water intrusion, proceed to Step 4.
Step 3: Replace Damaged Sheathing
If the sheathing shows any signs of water staining or discoloration, contact a licensed professional contractor, structural engineer or building inspector to assess the area in question.

On this project, all rotted or suspect sheathing was removed from the house frame to expose the rim board of the house with a pry bar.

Once the rim board of the house was exposed, it was evaluated for water damage signs such as discoloration, rotting or mold.
The rim board was inspected by poking a screwdriver into it. Where the screwdriver hit a hard surface and did not dig into the lumber, the structure of the rim board was determined to be intact, and we moved on to replacing the sheathing. If the screwdriver digs into the rim board, then the integrity of the rim board could be in question.
The screwdriver going into the lumber will be very evident. A hard surface will not allow the screwdriver to penetrate. The screwdriver should not be hammered or forced into the lumber. A soft surface will allow the screwdriver to penetrate it easily with little force. At this time, it is advised to call a professional. This rim board is a structural component of the house and could affect many areas of the home if not fixed properly. Replacing the rim board of the house is not included in the deck permit and will need to be verified with your local municipality.
If the rim board is in good condition and is structurally sound, replace all the sheathing that was removed.

Step 4: Install a Weather-Resistant Barrier and Back Flashing
Once all damaged sheathing has been replaced, cover the area behind the ledger with a self-adhering membrane, often called back flashing. Then install a (WRB) over the sheathing. These layers help prevent moisture from reaching the sheathing in the future. When installing back flashing or a WRB, always follow the manufacturer’s installation instructions.


This content was partially or fully generated by AI and has been reviewed by our team to ensure accuracy and relevance.


Copyright © 2026 Trex Company, Inc. All rights reserved.
Photos and videos © 2026 Warner Bros. Discovery, Inc. or its subsidiaries and affiliates. All trademarks are the property of their respective owners. All rights reserved.
- Country
-
Australia
-
Austria
-
Bahrain
-
Brazil
-
Canada English
-
-
Chile
-
Colombia
-
Costa Rica
-
Cyprus
-
Czech Republic
-
Fiji
-
France
-
Germany
-
India
-
Ireland
-
Israel
-
Kuwait
-
 Lithuania
-
Mexico
-
Netherlands
-
New Zealand
-
Norway
-
Oman
-
Qatar
-
Saudi Arabia
-
South Africa
-
Spain
-
Sweden
-
Switzerland
-
Turkey
-
United Arab Emirates
-
United Kingdom
-
United States
-
Venezuela
By choosing your country, you acknowledge that you have read Trex's Privacy Policy