
- 01: Positioning the First Deck Board →
- 02: Fastening the Deck Board →
- 03: Installing Universal Fastener →
- 04: Breaker Board Installation →
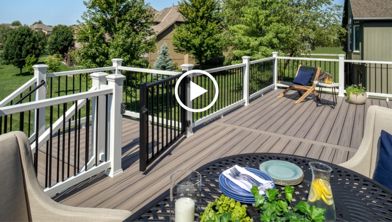
So you're ready to get started? Watch our how-to tutorial before you start your build.
Before you begin any DIY project, make sure to wear the appropriate personal safety equipment. Eye protection, ear protection, gloves, long pants, a long-sleeved shirt, and reinforced toe shoes are recommended. Always make sure that you have a first aid kit nearby. For any home project, be certain to follow local code and permitting requirements.
For this project, we opted for the Trex color matched composite deck screws to fasten Trex Enhance® decking. However, pairing the Trex® Hidden Fastener Clips and the Trex Enhance® Decking Plug system is also a great choice for a seamless fastener look. Consult our Deck Installation Guide for a full list of recommended fasteners for Trex Decking.
Step 1: Determine Fascia Installation
The first deck board on a deck build should be positioned on the front rim of the deck, depending on how the fascia is going to be installed. The fascia board can be installed tight against the rim joist and flush with the top of the frame. In this case, the first deck board would over hang the fascia by ¾”.
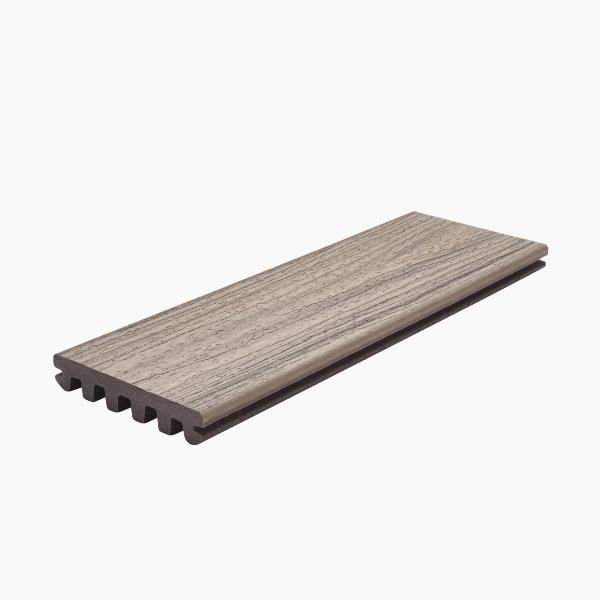
A square-edge deck board should have a clean and non-grooved edged showing on the edge of the deck.
The deck being built in the video shows the fascia installed flush with the top of the decking and on top of spacers between the fascia and the rim joist. In this case, the first deck board will be flush with the edge of the rim joist.

Pro Tip
Cover the concrete once it is poured to keep any debris from falling in, speed up the curing process, and avoid anyone falling in the hole.
Step 2: Install Stop Block
To determine where the deck boards will end on the side of the deck, install a stop block to the side of the rim joist.

Step 3: Attach Stop Block
Use a scrap piece of lumber and hold it up 1” higher than the rim joist of the deck. Attach the stop block to the rim joist with 3” exterior grade wood screws, one screw every 2 to 3 feet. Once the deck boards have been installed, this stop block will be removed.

Step 4: Attach Boards
Start by squaring the end of the first deck board. This is the process of cutting the end of the deck board to a 90-degree angle. A speed square and a circular saw can be used. A miter saw can be used if one is available.
Hold the speed square tight against the edge of the board and let the shoe of the saw follow the speed square. Cut 3/16” off the board. This will give the board a square end and a clean cut. Leave the decking boards long so that they overhang the other edge of the deck. They will be cut off later.
Step 5: Notch Around Posts
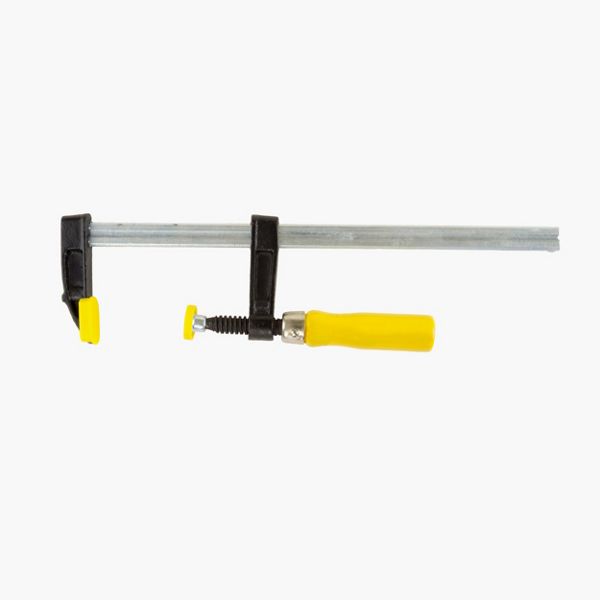
When guardrail posts are installed, the deck board will need to be notched around the posts. Place the deck board on top of the frame and tight against the posts. Clamp the deck board in place.

Step 6: Transfer Line to Board
Using a speed square transfer the line of the post to the deck board. Hold the speed square off the side of the post approximately ¼”. The deck board does not need to be tight against the post on all sides.
The post sleeve and post trim ring will cover any small gaps. Cutting the openings around the post bigger by ¼” will make the install of the deck board easier. Mark the deck board against the speed square.

Step 7: Mark Post
Mark both sides of the post with the use of a speed square.

The post is on the inside of the front rim joist. The rim joist is 1 ½” thick. The deck board will be flush with the outside of the rim joist and needs to be that same ¼” away from the post.
Measure from the edge of the deck board 1 ¼” and make a mark. Repeat this process and mark where the deck board needs to be cut for the posts.

Line Up Decking Seams with the Center of the Post
When a deck board needs to be cut and the next deck board will but up against it, it is a good idea to make the seam line up with the center of the post. This will give a smaller seam between the deck boards and some of that seam will be covered by the post sleeve and trim ring.
Step 9: Mark Board Near Post
The deck board in this photo is near the post. Measure and mark the post on to the deck board in the same fashion as the other posts. Measure the center of the post and mark the deck board to be cut.

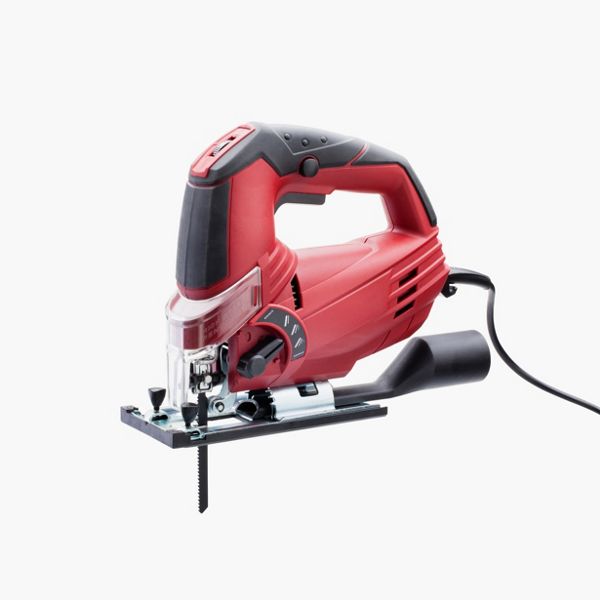
Step 10: Mark with Jigsaw
Once all the notches have been marked on the deck board, cut the marks with a jigsaw.

Start in the Corner When Cutting a Square Shape
When cutting a square shape start in the corner by drilling a hole big enough for the jigsaw blade to fit into. Let the hole touch each side of the corner lines that were marked for the post. Once the hole is drilled, cut the lines and the jig saw blade will be able to turn easily in the corner of the square marks.

Step 11: Place Board on Deck Frame
Once all notches have been cut out, place the deck board on the deck frame. Make sure that there is plenty of room around the posts and that the end of the deck board is tight to the stop block on the end of the deck.

Step 12: Clamp Board in Place
Clamp the deck board in place so that it is flush with the outside edge of the rim joist. Use the clamp to push tight against the rim joist and the deck board. Tighten clamp and move to next clamp. Use the clamps every 2 to 3 feet.


Step 1: Pre-Drilling May Be Required
Place fasteners a recommended 1” from the edge and 1” from the end of the deck board. In instances where there is not enough room to be 1” away, it is necessary to pre-drill the deck board.
Using a speed square. Place the tool on top of the deck board and tight to the outside edge. Use a 1/8” wood drill bit in the drill and drill a hole at 1” in from the edge of the deck board.
The fasteners must be less that 16” on center. For this project, with the deck joists installed at 16” on center, follow the center of each joist to install the fasteners. If the joists were different than 16” on center, then measuring along the edge of the deck board every 16” would have been required.

Step 2: Fasten Deck Board
Once the holes have been pre-drilled, fasten the deck board to the frame with the appropriate fastener.

Make sure the fastener is flush with the top of the deck board. Do not indent the fastener past the top of the decking material.

Step 1: Cut Piece of Board
On the other edge of the board Trex Hideaway® Universal Fasteners will need to be installed. Start by cutting a 1 ½” wide piece of the decking board.

Step 2: Place Clip In Groove
Place the clip into the groove of the deck board. Slide the 1 ½” piece of deck board up against the clip so that the clip sits in the groove of the small piece of decking. Push the small piece of deck board tight against the clip and the full deck board. By holding the clip with this small piece of deck board, the clip will be straight and not move when the fastener is installed.
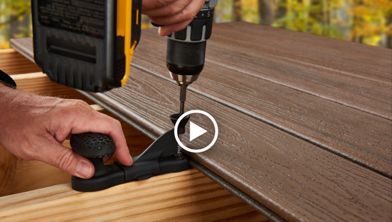
Step 3: Use Drill To Install Fastener
While holding the block tight to the clip, install the fastener into the deck frame with a drill and a long T10 Star bit. This bit will come in the packing of the Trex Hideaway Fasteners.

Step 4: Drill Fasteners
Drill the fastener to just under the top of the deck board.
Do not install the fastener tight into the clip at this time. The fastener will be tightened when the next deck board is installed.

Step 5: Tighten Fastener
When the block is used and the fastener is left slightly raised, make sure to tighten the fastener once the next deck board has been installed. Do not overtighten the fastener. Repeat this process with the remaining deck boards.

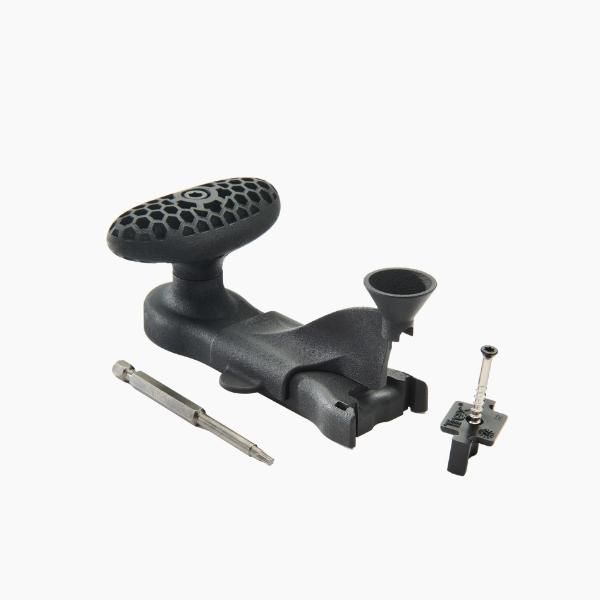
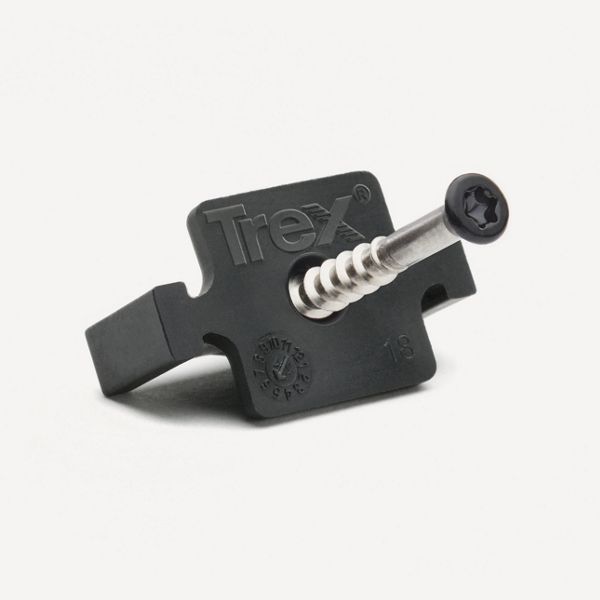
Use the Trex Hidden Fastener Tool for Quicker Fastener Installation
Another way of installing fasteners is with the Universal Fastener Installation Tool. This tool will hold the clip and guide the tip of the drill into the top of the fastener, making installation easier and faster.

Step 1: Place Clip In Tool
Place the tool with the clip inserted tight against the groove of the deck board. Install the fastener into the deck framing and make sure the fastener is tight against the clip.
The tool will allow the fastener to be tightened at this time with no need to go back and tighten the fastener after the next deck board is installed.

Step 2: Install One Fastener at Each Joist
Install all the hidden fastener clips into the deck frame, with one fastener at each joist. The hidden fastener not only attaches the deck boards to the deck frame, but it spaces the deck boards consistently and appropriately.
There needs to be a specific amount of gapping between each deck board. For a list of recommended gapping requirements, review the Trex Installation Guide.

Step 3: Slide Boards Into Place
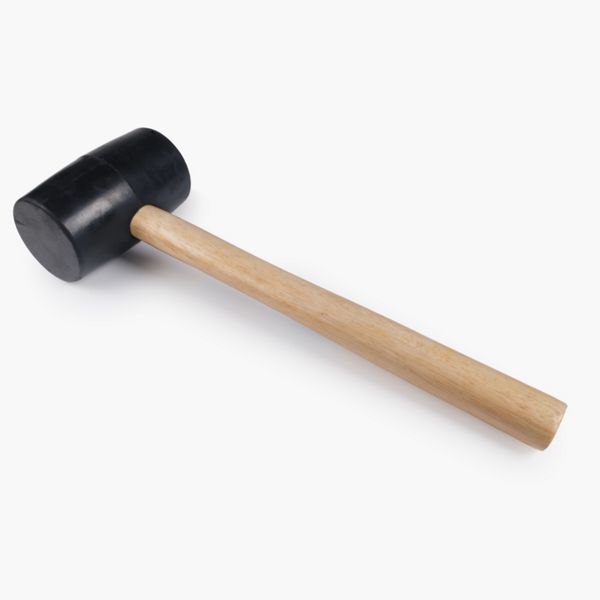
Slide the next deck board into place. Tap with a rubber mallet to ensure the deck board is tight against the hidden fastener clips.

Repeat the process of installing the hidden fasteners.
Pull a String Line to Make Sure the Deck Boards are Straight
To make sure the deck boards are staying straight as they are installed, pull a string line, and hold it against the edge of the deck board. This will show if there is any wave in the deck board. This can happen when one hidden fastener is not as tight as the one beside it. Do this every 3 or 4 boards to ensure the boards are straight. If there is any wave in the board correct at this time by loosening up the clips and pushing the deck board tight where needed.
Step 6: Install Last Board
The last deck board installed against the house will need to be angled to fit between the house and into the hidden fastener clip.

Step 7: Inspect Placement of Boards
Once the deck board has slid into place, make sure the end of the deck board is flush with the previous deck boards. Hold a straight edge up against the ends and move the deck board as needed.

Step 8: Tighten Board Against Clip
Use a pry bar between the deck board and the house to tighten the deck board against the hidden fastener clips. A small amount of pressure will work in this instance. Do not over tighten the deck board.

Step 9: Install Surface Fasteners Against House
Surface fasteners will need to be installed against the house. Fasten them in the same fashion as you did at the front edge of the deck.
Avoid drilling a fastener into the ledger flashing if possible. In this project, the ledger flashing was 1 ½” away from the house so the fasteners were drilled at 2 ¼” away from the house. Pre-drill the hole first.

Step 10: Add Color-Matched Fastener
Insert the color-matched composite screw into the hole and drill in place until the fastener is flush with the top of the decking. Repeat this process at every joist.

A breaker board is a deck board installed perpendicular to the other deck boards, usually in the middle of the deck or in some pattern breaking the decking surface into sections. This board can be installed before or after the field deck boards.
Pro Tip
Install the breaker board after the field deck boards for an easier installation and cleaner lines
Step 1: Cut Board To Precise Length
The first field deck board on either side of the breaker board needs to be cut to the precise length. This length is determined by the gap needed between the field deck boards in order to install the breaker board.
In this project, the breaker board was 5 ½” wide. A gap between the breaker board and the ends of the field deck boards is required. This amount of gap depends on the ambient temperature.
Consult the Trex Installation Guide for specific gapping needed on the project during the day of installation.

Step 2: Cut Boards Against House
The two deck boards on each side of the breaker board against the house will also need to be cut to the specific length. Cutting the boards to length will give the proper gap between the field deck boards so that the breaker board can be properly installed. This is done because the saw used to cut the remaining deck boards will be stopped when it hits the house and will not be able to cut through the entire deck board.

Step 3: Leave Field Boards Long
The field deck boards are left long and overhanging the edge of the blocking joists. You save time and obtain a cleaner cut by leaving the field deck boards long and cutting them at the same time. Each deck board could be cut to the specific length and then installed but this takes more time and can present more obstacles depending on the project.

Step 4: Snap Chalk Line
Using the field deck boards that were cut to the specific length at the front edge of the deck and against the house, snap a chalk line between the two deck boards. Also snap a chalk line on the other side of the breaker board.
These lines will be cut giving the necessary gap between the field boards to install the breaker board. Do not use red chalk. Most colored chalks are permanent and may discolor the surface. Use only Irwin Strait-Line® Dust-Off Marking Chalk (purple), available at www.Irwin.com.

Step 5: Cut Deck Boards
Set the circular saw to the appropriate depth so that the saw only cuts the deck boards and not the deck frame joist underneath.

Start the saw and follow the chalk line continuously to the house. Repeat the cut on the opposite line.

Step 6: Position Breaker Board
Clean the debris from top of the blocking joists and place the breaker board in place between the cut ends. Maintain the same gap on each side of the breaker board between the cut deck ends..
Step 7: Install Fastener
Measure 1” from the edge of the board and every 16” install a recommended color-matched deck surface fastener.
Pro Tip
For a more seamless look, opt for the Trex Enhance® Decking Plug system.
Predrill and then install the fastener. Make sure that the blocking joists underneath the breaker board are not shared by the breaker board and the deck boards coming in perpendicular. The decking ends should have their own blocking joist to support them.

Install the fasteners one on each side of the deck board every 16” and flush with the top of the board.


This content was partially or fully generated by AI and has been reviewed by our team to ensure accuracy and relevance.


Copyright © 2026 Trex Company, Inc. All rights reserved.
Photos and videos © 2026 Warner Bros. Discovery, Inc. or its subsidiaries and affiliates. All trademarks are the property of their respective owners. All rights reserved.
- Country
-
Australia
-
Austria
-
Bahrain
-
Brazil
-
Canada English
-
-
Chile
-
Colombia
-
Costa Rica
-
Cyprus
-
Czech Republic
-
Fiji
-
France
-
Germany
-
India
-
Ireland
-
Israel
-
Kuwait
-
Lithuania
-
Mexico
-
Netherlands
-
New Zealand
-
Norway
-
Oman
-
Qatar
-
Saudi Arabia
-
South Africa
-
Spain
-
Sweden
-
Switzerland
-
Turkey
-
United Arab Emirates
-
United Kingdom
-
United States
-
Venezuela
By choosing your country, you acknowledge that you have read Trex's Privacy Policy