For any home project, be certain to follow local code and permitting requirements.
© 2022 Trex Company, Inc.
01. Removing Old Deck Boards
02. Cleaning the Frame
03. Inspecting the Frame
04. Making Necessary Repairs
05. Picture Frame Blocking
06. Trex® Protect™ Joist and Beam Tape
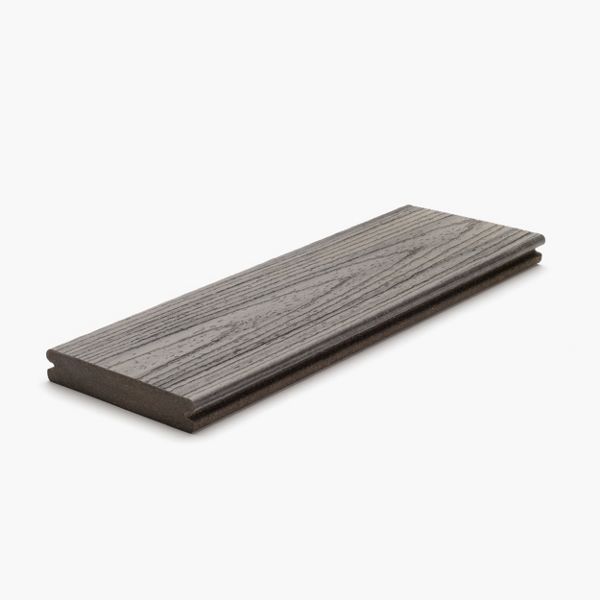
07. Installing Trex Transcend® Decking
08. Picture Frame Deck Boards
09. Installing Fascia
10. Summary
Step-by-Step Instructions
- 01: Removing Old Deck Boards
- 02: Cleaning the Frame
- 03: Inspecting the Frame
- 04: Making Repairs
- 05: Trex® Protect™ Joist and Beam Tape
- 06: How to Install Trex Transcend® Decking
- 07: Installing Picture Frame Deck Boards
- 08: Installing Trex® Fascia
Chapter 01: Removing Old Deck Boards
Print This Chapter
So you're ready to get started? Watch our how-to tutorial before you start your build.
Before you begin any DIY project, make sure to wear the appropriate personal safety equipment. Eye protection, ear protection, gloves, long pants, a long-sleeved shirt, and reinforced toe shoes are recommended. Always make sure that you have a first aid kit nearby. For any home project, be certain to follow local code and permitting requirements.
Step 1
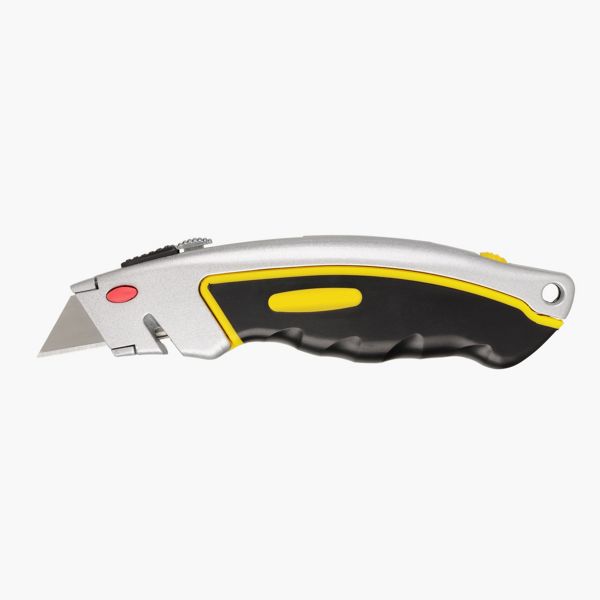
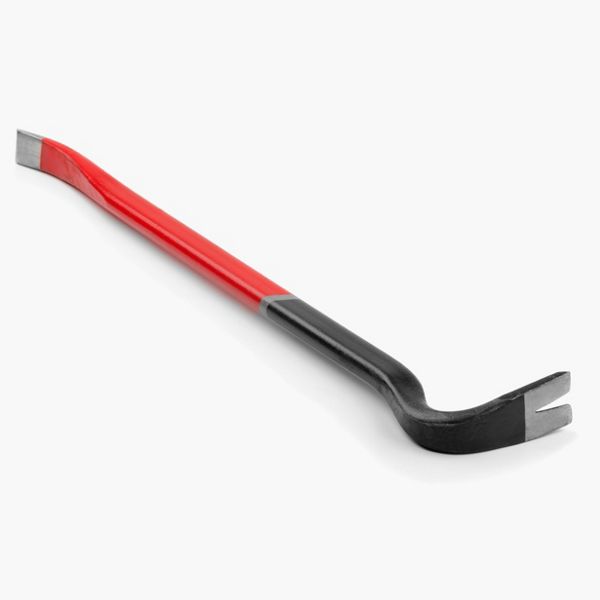
Remove screws from the deck boards entirely to reduce the risk of injury. If nails cannot be removed from the deck boards, bend the tips over so they’re flat to the wood. Handle deck boards with extreme caution.

Step 1
Check that all fasteners have been removed from the top of the deck frame.

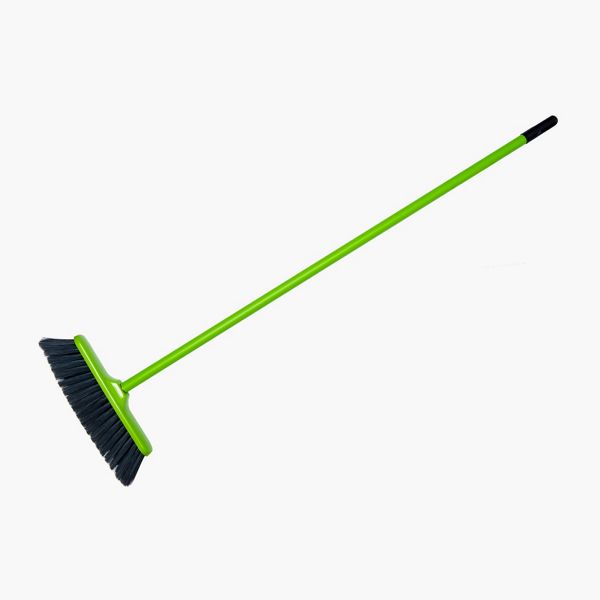
Be sure to remove any debris that may be in the bays between joists to ensure air can flow beneath the frame.

Step 1: Rot and Cracking
“Soft Spots” can be wet or dry and are a sign of advanced decay or rotting of the wood framing. To check for soft spots, use a slotted/flathead screwdriver to probe the wood. If the screwdriver digs into the wood, you’ve found a soft spot. All decayed and/or rotting framing will need to be replaced before you build your deck. For more information on removing rotted framing, refer to our Trex Academy How-to Guide “How to Demolish a Deck”.

Cracks in wood framing will also need to be replaced before you build. Cracks will allow water to enter the center/most vulnerable section of the treated lumber frame which can lead to rotting or decay.
Step 2: Condition of the Framing Hardware
Even a small amount of orange, brown or red rust on the surface of the metal framing hardware is a cause for concern and means that you should replace your framing hardware. A small amount of white surface oxidation is common but if widespread, consider replacing the hardware as well.
Step 3: Beam Spans
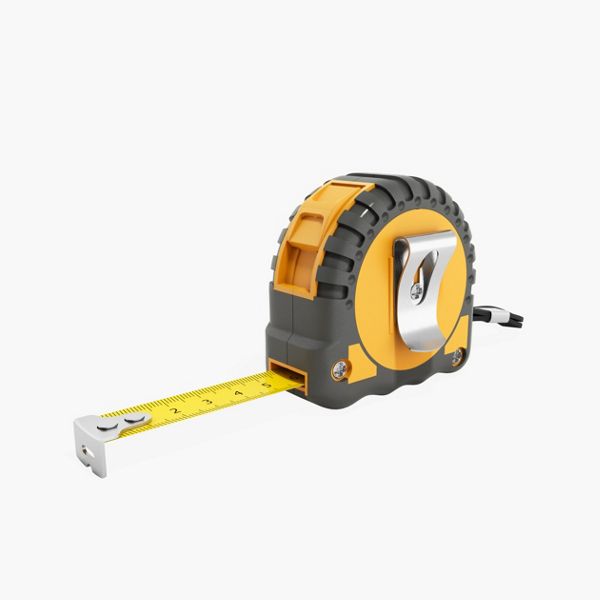
The beam span equals the distance between supports. Check your local municipality code for span limitations of the beams on your project.

Step 4: Joist Spans
Similar to step 3, the joist span equals the distance between supports. Again, check your local municipality code for the span limitations of the joists on your project.

Step 5: Joist Spacing
Spacing equals the center-to-center spacing of joists. Check your local code as well as the Trex Installation Guide for allowable joist spacing and joist spacing guidance.

After assessing and identifying what needs to be replaced in Chapter 3, consult your local code to make sure the supplies you purchase are up to the current code requirements. For example, galvanized hardware is available in two grades: HDG and “Z-Max”. Some jurisdictions require Z-Max grade for exterior applications while others do not. Once your supplies are purchased, replace the necessary framing components/hardware and confirm your beam spans, joist spans and joist spacing is code compliant.
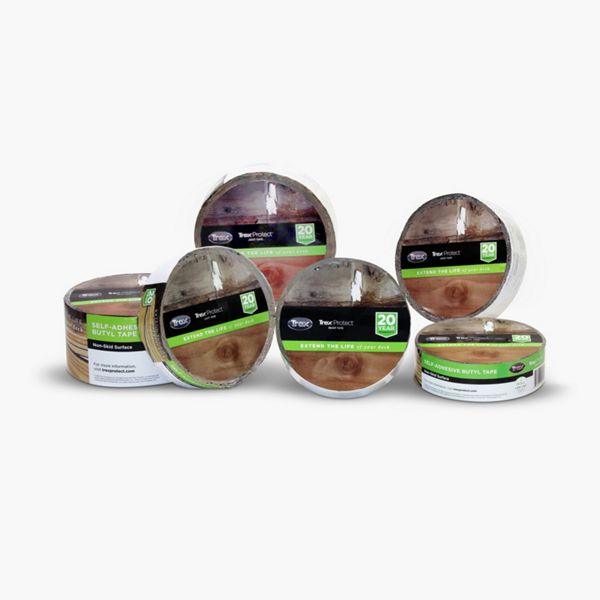
For added protection and to extend the life of your deck frame, use Trex® Protect™ Joist and Beam Tape. It is designed to seal the deck fasteners as they enter wood framing in order to minimize the potential for moisture penetration and reduce the risk of rot or decay. Trex® Protect™ Joist and Beam Tape can be used on horizontal and vertical surfaces, including all joists, rim joists, beams, steps, ledger boards and under joist hangers and is available in two widths to meet your project needs.
To use Trex® Protect™ Joist and Beam Tape follow this simple three-step process:
- Clean the joist surface and make sure it is dry and free of debris.
- Remove the butyl tape backing while applying the tape directly to the surface of the joist. Run your hand over the tape and firmly press it onto the joists and bearers.
- After covering all horizontal and vertical surfaces, cut the tape to your desired length with a utility knife.

Step 1: Consider Framing
When planning a unique pattern, you will need to adjust your framing to support a unique surface pattern on your deck, like a herringbone pattern, picture frame border or a tiled pattern. Each takes advantage of a deck’s specific angles and requires additional planning. For more information on what to consider and how to properly block your framing, refer to the Trex® Decking Installation Guide. We’ll provide additional direction in Chapter 7.

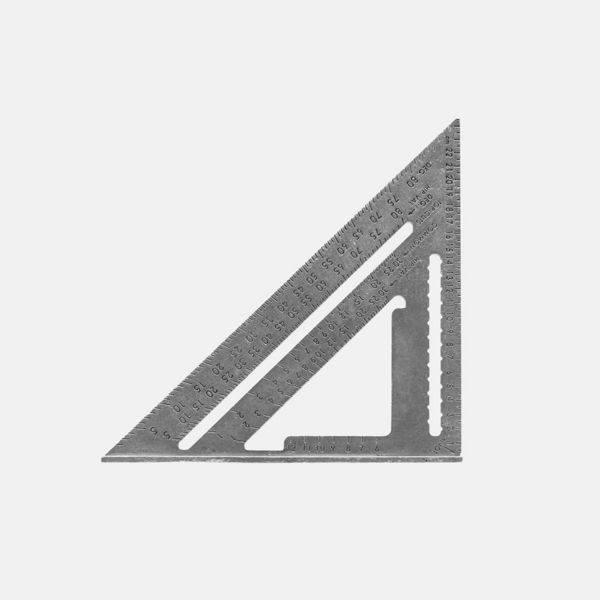
Step 2: Trim and Square Factory Cut Ends
Trim and square all factory cut deck board ends by at least 5mm to ensure a smooth, square finish. Boards come with extra length, so you can cleanly cut both ends and still have the length you need.


Step 3: Shuffling the Deck
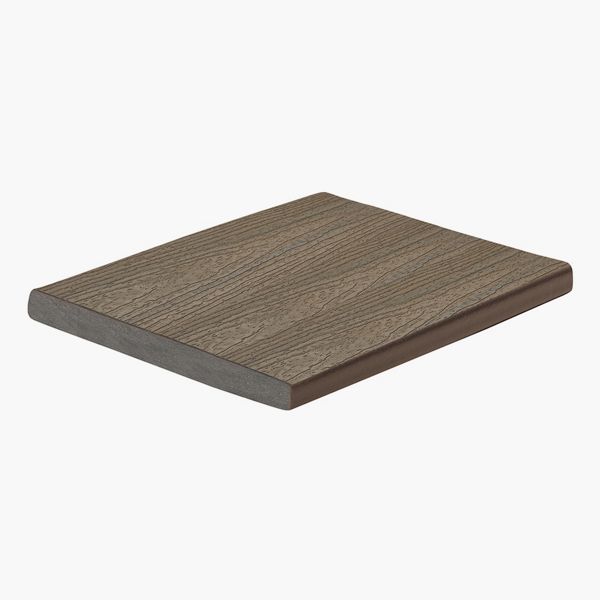
Trex® deck boards have a random variation in hue from board to board which is part of why they look so natural and unique. To ensure the best variety of color tones, mix and match all boards to create your desired look. Similar to installing hardwood floors, you can do this by laying out several courses of boards on the deck and then standing back to assess if the look is to your liking. Mixing up or “shuffling” hues now is much easier than after the deck boards have been installed.
Step 4: Planning
Measure the depth of the deck frame perpendicular to the joists as well as adding the thickness of the fascia material, any spacers plus any overhand or unsupported outside edges of the deck board.
Then, divide by 5 3/4” (5 1/2” board width + ¼” gap between boards) to get the number of full boards needed to cover the frame. It’s unlikely this is an exact whole number or multiple full-width deck boards. Ideally, the partial board will be at least 2” in width. If the partial board is less than 2” wide, consider increasing your outside edge overhang to the maximum ¾”. Always predrill for any screws going into the surface of a deck board that is less than 2” wide.

Step 5: Gapping
Gapping is necessary for drainage as well as the slight board expansion and contraction that comes with changes in weather. It also allows for shrinkage of the wood joist system. Allow for a gap where the deck boards meet a wall, both end-to-end and width-to-width. Refer to Trex® Installation Guide for details on gapping.

Step 6: First Board
Your first board should be the board furthest away from your home, not the closest. Be sure to allow for an overhang if you have one planned.
Assuming it is installed at a right angle to the joist and not a diagonal, the first board should also be perfectly aligned/parallel with the frame and installed as straight as possible. A string line or chalk line is an ideal straight edge for this application and can help during the installation process.
Remember, all subsequent deck boards will follow the edge of the first board, so take the extra time to ensure it is accurately installed.
Step 7: Fastening Deck Boards
There are three surface attachment options: (refer to the Trex® Installation Guide for an approved list of fasteners and additional details).


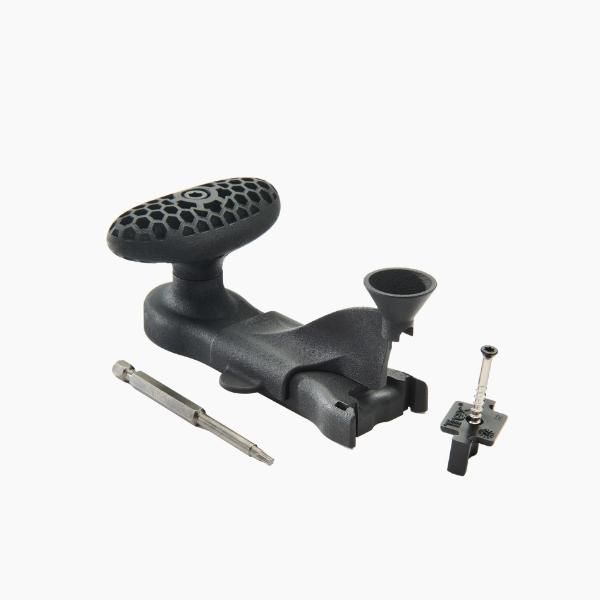
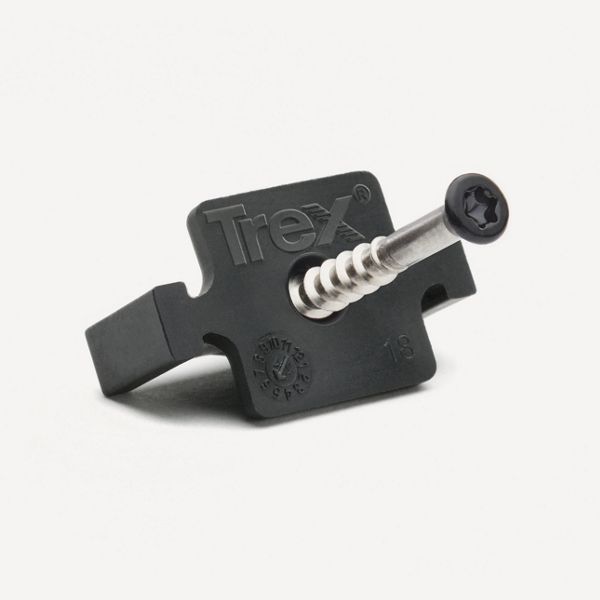
We recommend using Trex Hideaway® Hidden Fasteners, which gives the completed deck a virtually fastener-free aesthetic. The fasteners can be used with grooved edge boards anywhere on your deck. For square edge boards, use either the color-matched exposed composite deck screws or the composite deck screws with deck board plugs.
For more details on using Trex Hideaway® Hidden Fasteners, please refer to the Trex Hideaway® One-Step Hidden Fastener Tool Instructions.
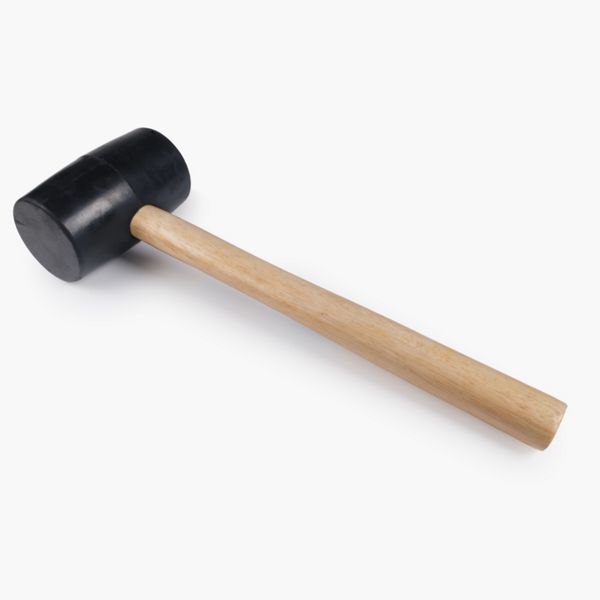
Use a rubber mallet to help position deck boards tightly against the hidden fastener.
Step 1: Location of the Picture Frame Board
Note: Refer to Chapter 6, Step 1 for more information on what to consider when installing a picture frame board.
Establish the desired location of your picture frame board, including the required gap, and make a small mark on the surface of the deck on one end of the picture frame board area.
Measure from the edge of the saw shoe (which will run along the fence - a straight edge for the picture frame board) to the inside edge of the nearest kerf on the circular saw. Subtract that distance from the previous mark and make a new mark on the surface of the deck at both ends of the picture frame board area.
Snap a chalk line on the deck running the distance of the picture frame board to connect the two new marks.

Step 2: Secure a Fence to the Deck
The fence will serve as a straight edge when aligned with the chalk line made in Step 1 to provide a straight cut for the picture frame board. The fence can be as simple as a piece of scrap material or as sophisticated as a piece of aluminum angle depending on your available materials. The most important criteria are that a) the fence can be made to follow the chalk line and b) the shoe of the circular saw can easily travel alongside the fence.
Use a wood screw or composite deck screw to temporarily secure the fence to the deck.

Step 3: Cutting in the Picture Frame Board
Set the circular saw blade depth to equal the depth of the deck boards.
The ideal depth of the cut is just below the back of the deck board but not into the Trex® Protect™ Tape or framing member. Make a test cut on one deck board to check for depth. Then, adjust the depth and make additional test cuts as needed.
Once the final saw depth setting has been established and is equal to the depth of the deck boards, be sure to firmly tighten the saw shoe so the depth is maintained throughout the entire cut.
Do not start the circular saw yet. Carefully lift the saw guard then set the saw firmly against the fence and lower the saw into the place where the final test cut was made.
Release the saw guard so it drops down to rest on the deck boards. Be sure to clear your hands and fingers to avoid injury.
When ready, engage the saw trigger following the saw manufacturer’s safety instructions.
Slowly and carefully move the saw forward while maintaining a snug engagement between the saw shoe and the fence.
Remove the cut-off pieces of decking after finishing the cut.

Step 4: Remove the Fence and Prepare for Installation
After your cut is complete, the fence is no longer needed and can be removed. Before securing the picture frame board, be sure to patch any temporary holes made in previous steps. You can do this by using color-matched plugs to fill the hole.
Step 5: Securing the Picture Frame Board
Picture frame boards can only be secured through the surface of the board. Watch our Trex Academy video above (“How To Resurface a Wood Deck with Trex Transcend Composite Decking”) for basic information on how and why you’ll want to install blocking for a picture frame border. And make sure to refer to the Trex® Installation Guide for approved fasteners, spacing and details.
Trex® Fascia can be used to create a polished look at every angle. View the Trex Academy How-to Guide “How to Install Trex Fascia Boards for a Deck” for a detailed video and instructions for fascia installation.
Trex® Fascia should always be installed with Trex-approved fascia fasteners and with proper spacing. The Trex® Installation Guide includes additional information on both.


This content was partially or fully generated by AI and has been reviewed by our team to ensure accuracy and relevance.


Copyright © 2025 Trex Company, Inc. All rights reserved.
Photos and videos © 2025 Warner Bros. Discovery, Inc. or its subsidiaries and affiliates. All trademarks are the property of their respective owners. All rights reserved.
- Country
-
Australia
-
Austria
-
Bahrain
-
Brazil
-
Canada
-
Chile
-
Colombia
-
Costa Rica
-
Cyprus
-
Czech Republic
-
Fiji
-
France
-
Germany
-
India
-
Ireland
-
Israel
-
Kuwait
-
Mexico
-
Netherlands
-
New Zealand
-
Norway
-
Oman
-
Qatar
-
Saudi Arabia
-
South Africa
-
Spain
-
Sweden
-
Switzerland
-
Turkey
-
United Arab Emirates
-
United Kingdom
-
United States
-
Venezuela
By choosing your country, you acknowledge that you have read Trex's Privacy's Policy